Gluten-Free Crustless Mini Milk Tarts: A Sweet Solution
I’ve always loved milk tarts—they’re a classic comfort dessert in South Africa. When I had to remove gluten from my diet, I thought I’d never enjoy them again. But then I discovered this incredible alternative: Gluten-Free Crustless Mini Milk Tarts.
These little beauties are inspired by Portuguese milk tarts, known as Queijadas de Leite. They’re creamy, lightly sweet, and baked without a crust, making them naturally gluten-free and wonderfully simple to prepare.
Why You’ll Love These Milk Tarts
- Naturally Gluten-Free – No crust, no fuss.
- Elegant & Easy – Perfect for tea time or dinner parties.
- Rich & Creamy – A smooth custard-like texture with a hint of cinnamon.
The Story Behind This Recipe
When I first started experimenting with gluten-free baking, milk tarts were at the top of my list. I missed their comforting flavour and creamy filling. After trying several versions, I found that removing the crust entirely was the perfect solution. These mini tarts are not only easier to make but also look impressive when served.
Tips for Perfect Mini Milk Tarts
- Use high-quality milk and fresh eggs for the best flavour.
- Add a pinch of cinnamon or nutmeg for a traditional touch.
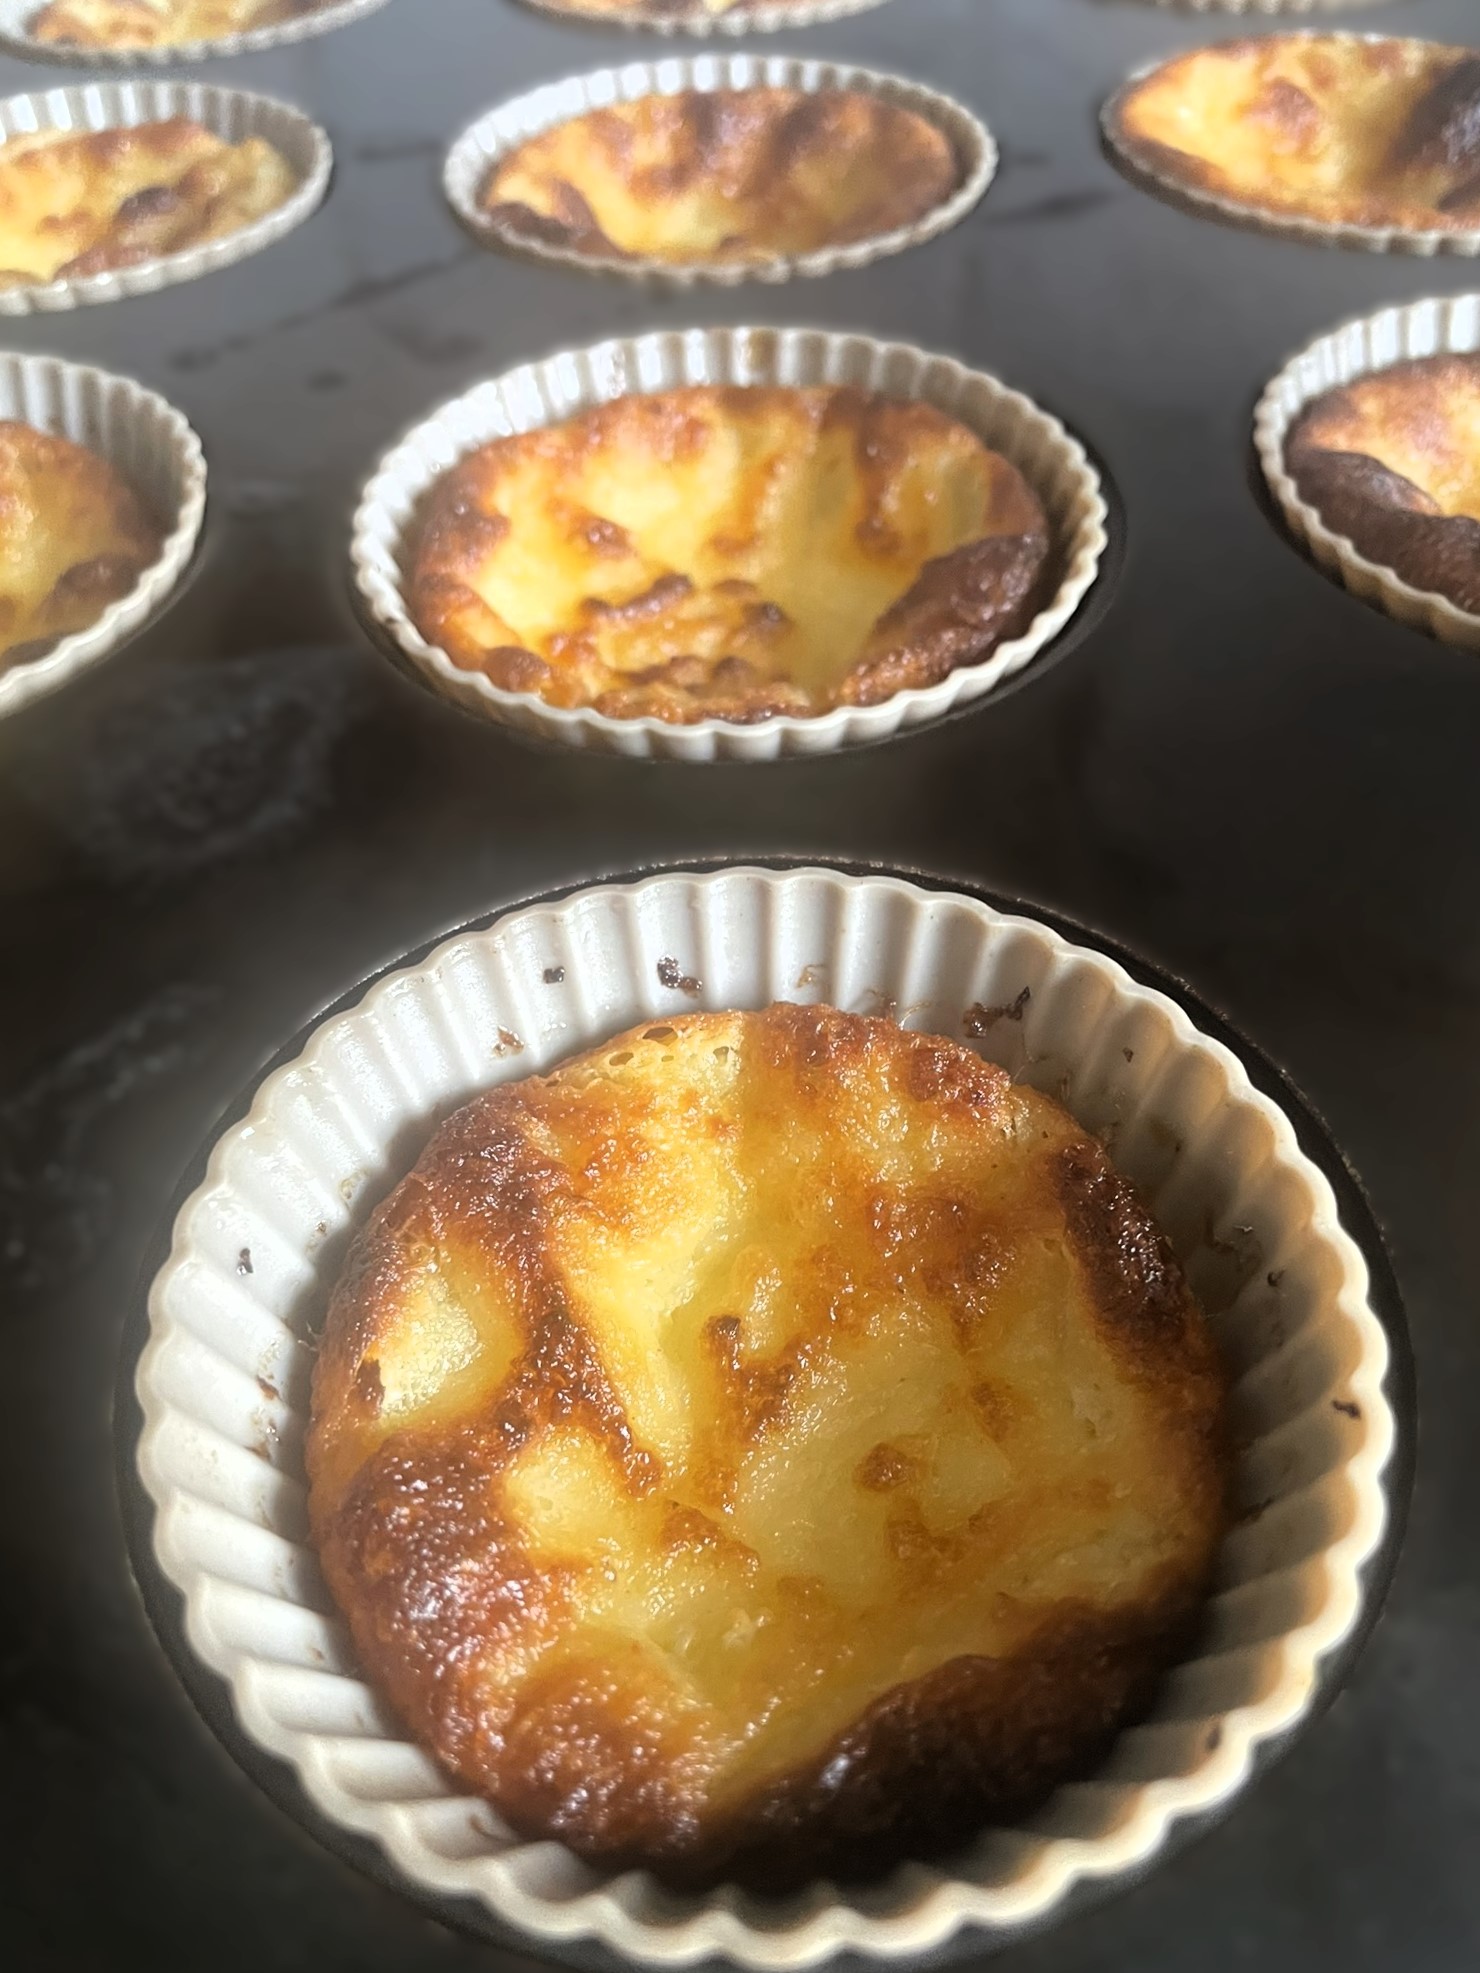
- Bake in mini muffin tins for bite-sized treats that look beautiful on any dessert table.
Serving Ideas
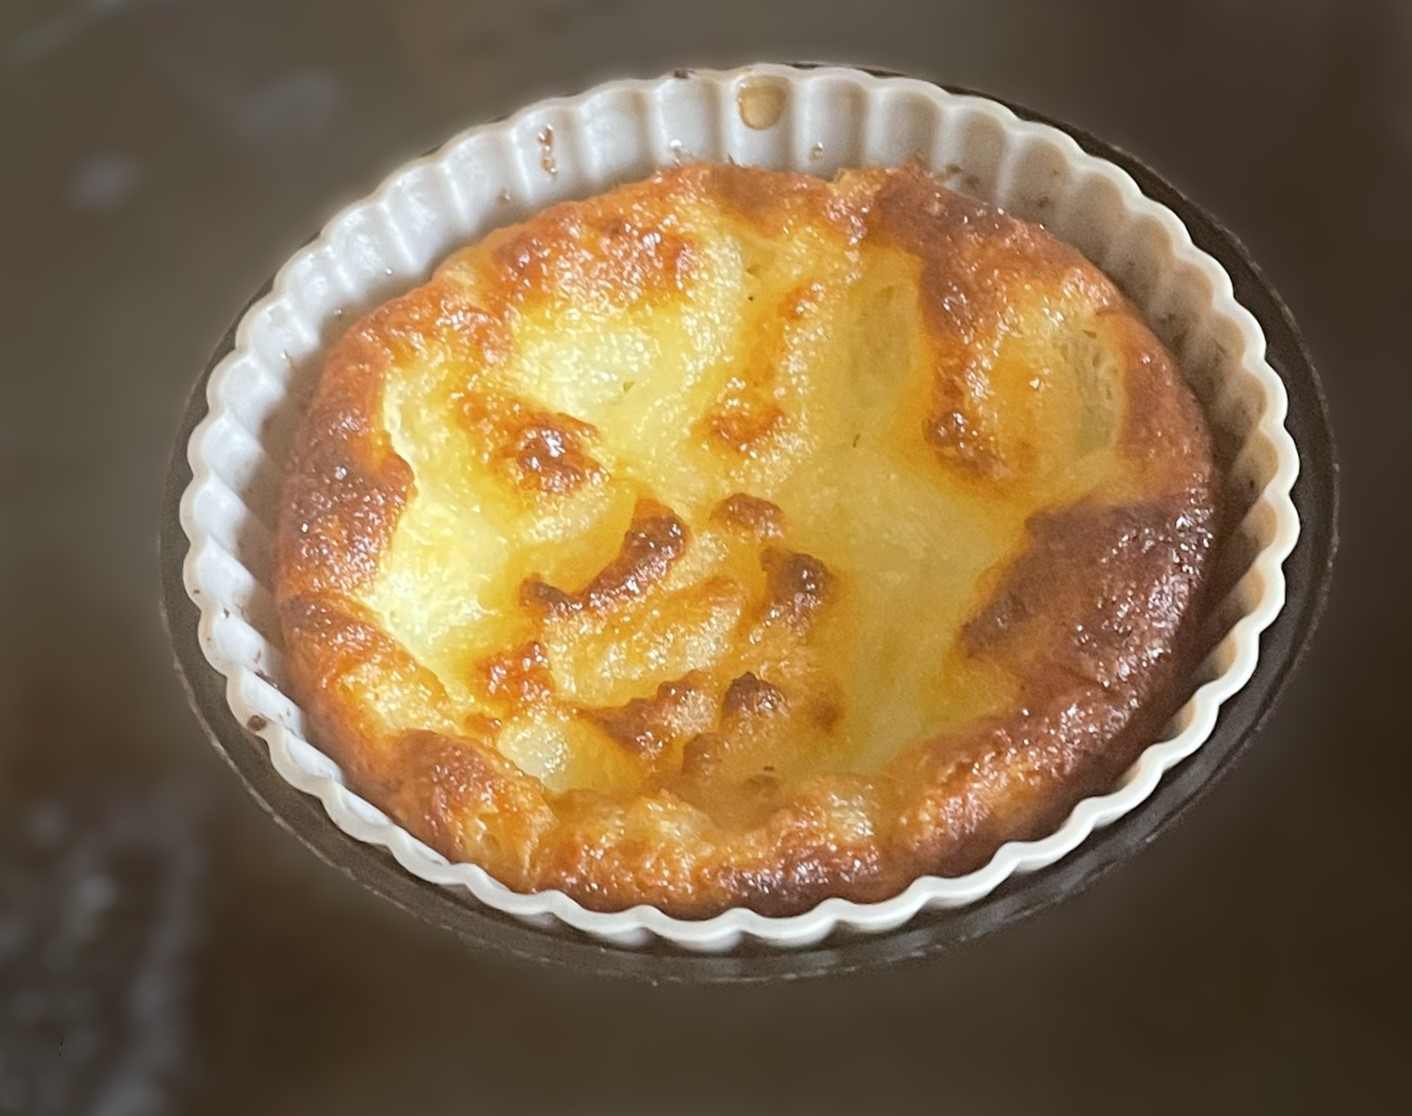
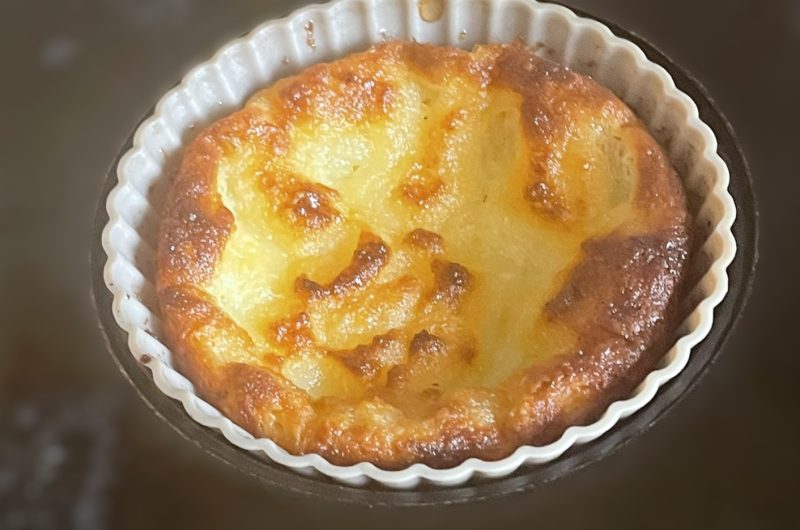
Serve warm or chilled, dusted with cinnamon. Pair with coffee or tea for a classic South African experience.
Why It’s Great for Gluten-Free Diets
By skipping the crust, you eliminate gluten without sacrificing flavour. These tarts are proof that gluten-free desserts can be just as indulgent and satisfying.
Ideas, Advice and Suggestions
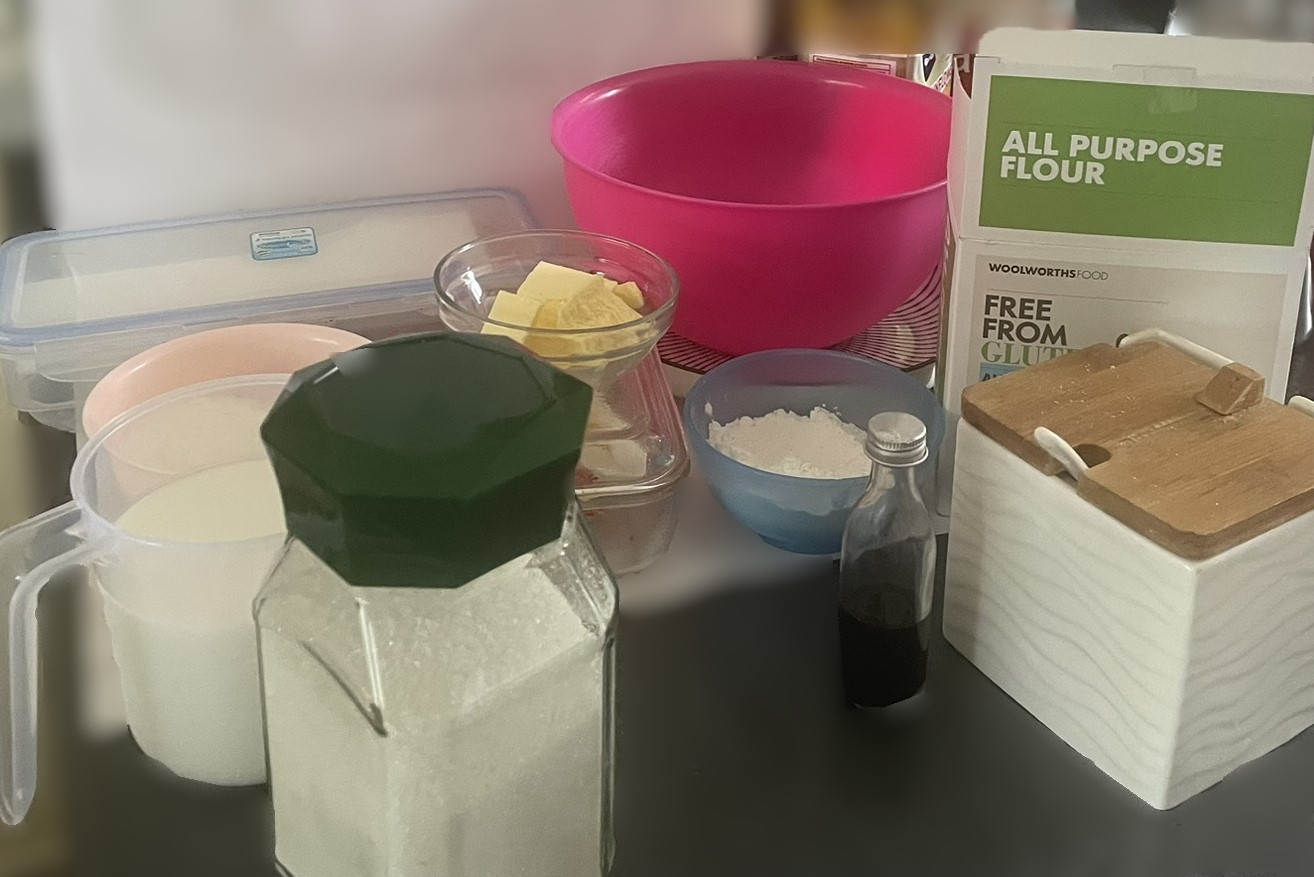
Sugar – for the tarts I use granulated white sugar, but same amount of white caster sugar (which melts faster) would work too. I would not recommend using brown sugar for the tarts because the molasses taste would overwhelm the delicate milk tart flavour.
Sugar or Cinnamon & Sugar(optional): The caster sugar and cinnamon for the sprinkle add a lovely flavor if you prefer that traditional milk tart taste. Brown sugar can be substituted for the caster sugar for a more caramel taste.
Woolworths Free from Gluten All Purpose Flour – A staple in my home that I’ve found to be the best gluten-free wheat flour replacement. It can be substituted with regular all-purpose wheat flour for those who are not adhering to a gluten-free diet.
Butter – I like the taste of butter you could substitute baking margarine. I normally use salted butter if you prefer unsalted add ¼ of salt to the dry ingredients.
Whole milk – I normally use full-cream milk for this recipe, but low-fat milk will work as well. I have not tested with fat-free or non-dairy substitutes.
Vanilla – Both vanilla essence and vanilla extract can be used; however, please note different measurements.
Gluten-Free Crustless Mini Milk Tarts
Course: Dessert24
Mini Milk Tarts15
minutes30
minutes2605
kcal45
minutesThese Gluten free Crustless Milk Tarts are a version of Portuguese Milk Tarts, or Queijadas De Leite, are a delightful dessert that’s easy to make. These Gluten-free tarts are sure to impress!
Ingredients
400g (2 cups) Sugar
125g (1 cup) Woolworths Free from Gluten flour
4 Eggs, beaten
114g Butter, melted (½ cup)
940ml Whole milk (3 ¾ cups)
Pinch of salt
1 tablespoon vanilla essence or 1 teaspoon Vanilla extract
- Optional
¼ teaspoon Cinnamon
2 tablespoons Caster Sugar
Directions
- Preheat oven to 400°F/200°C (170°C fan assisted).
- In a large bowl combine 2 cups of sugar, salt and flour.
- Incorporate melted butter into the dry ingredients, ensuring it is thoroughly combined before proceeding to the next step. (See note *)
- Whisk in beaten eggs, continuing to whisk, and then milk and vanilla.
- Pour mixture into greased muffin tin, filling them to about ¾ full. (See note* *)
- Bake on centre rack for 30 mins or until sides and top are golden.
- Remove the tarts from muffin tin while hot by running a sharp knife around the sides and lifting them out.
- Mix sugar and cinnamon (if you’re using) together and sprinkle over the tarts as a topping.
- Serve the same day or store in the fridge until ready to serve. If you prefer them at room temperature allow them to stand covered for 30-45.
Notes
- * Adding the melted butter to the dry ingredient ensures that it does not separate and end up as a film on top of your milk tarts.
- ** I utilize silicone cupcake moulds inside a metal standard muffin pan to make it easier to remove the milk tarts once they have been baked. You could also use a silicone muffin mould, but extend the baking time by a few minutes.
- Can be made in advance kept in the fridge or frozen and defrosted overnight in the fridge.
Origin of the Recipe
Leave a Reply